Wasserfallzopf-Anleitung: So flechtest du einen Wasserfallzopf
Wenn du nach einer neuen Flechtfrisur suchst, bei der dich alle fragen werden, wie du das gemacht hast – die aber trotzdem nicht zu schwer ist, um sie selbst zu flechten – dann stellen wir dir die Wasserfall-Flechtfrisur vor. Dieser traumhafte Look zaubert einen Zopf, der wie ein französischer Zopf am Kopf anliegt, aber zusätzlich locker fallende Strähnen aus dem Zopf herausfließen lässt. Wie funktioniert die Wasserfall-Flechtfrisur? Teile den Haarabschnitt, mit dem du starten möchtest, in drei gleich große Strähnen und beginne mit der französischen Flechttechnik. Lege die obere Strähne (die, die näher am Scheitel liegt) über die mittlere, dann die untere Strähne über die neue mittlere. Beim nächsten Schritt nimmst du etwas zusätzliches Haar zur oberen Strähne dazu, während du sie in die Mitte legst, dann legst du die untere Strähne über und in die Mitte und nimmst dabei ebenfalls etwas Haar dazu. Beim dritten Schritt (oder wann immer du mit dem Wasserfall-Effekt beginnen möchtest) legst du die obere Strähne wie gewohnt über. Aber diesmal lässt du die untere Strähne fallen, anstatt sie in die Mitte zu flechten, und nimmst stattdessen eine neue Strähne direkt dahinter, um sie in die Mitte zu flechten. Die fallengelassene Strähne bleibt locker aus dem Zopf hängen und erzeugt so den Wasserfall-Effekt, der mit jedem weiteren Schritt sichtbarer wird. Wiederhole diesen letzten Schritt so lange, wie du den Wasserfall-Look möchtest. Wenn du noch mehr Inspiration brauchst, schau dir unsere Lieblingsvarianten der Wasserfall-Flechtfrisur an!


Die Sammlung durchstöbern
Entdecke jeden Look in dieser kuratierten Sammlung.
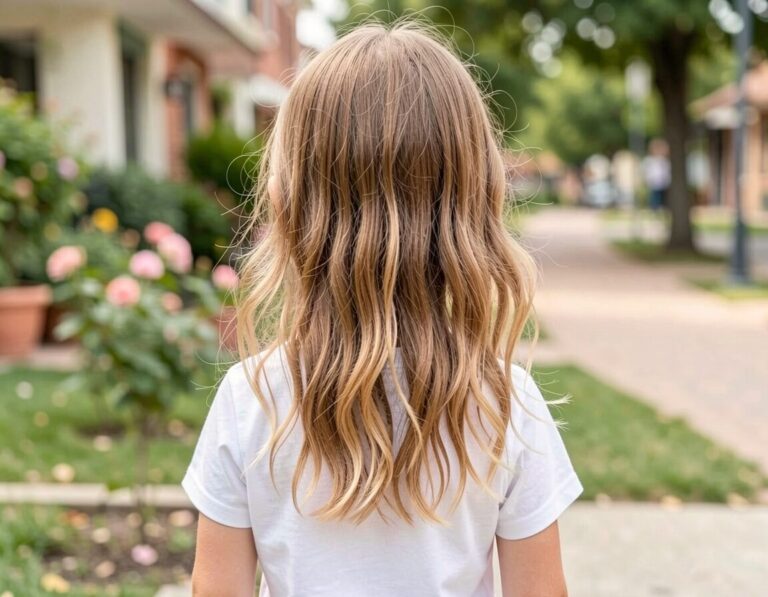
1Wasserfall-Zopf mit superlangen Haaren
Dieser Wasserfall-Zopf bildet ein schlichtes Haarband über das superlange Haar und dauert nicht länger als ein französischer oder holländischer Zopf.
2Zweisträhniger Wasserfall
Für einen zweisträhnigen Wasserfall beginnst du mit nur zwei Strähnen und drehst sie umeinander. Nimm eine Haarsträhne von oben auf, aber anstatt sie einzuflechten, schiebe sie durch deine beiden gedrehten Strähnen hindurch und lasse sie fallen, um den Wasserfall zu erzeugen. Wiederhole diese Technik, ohne neue Strähnen einzuflechten – du webst sie einfach immer wieder durch deine Drehung hindurch.
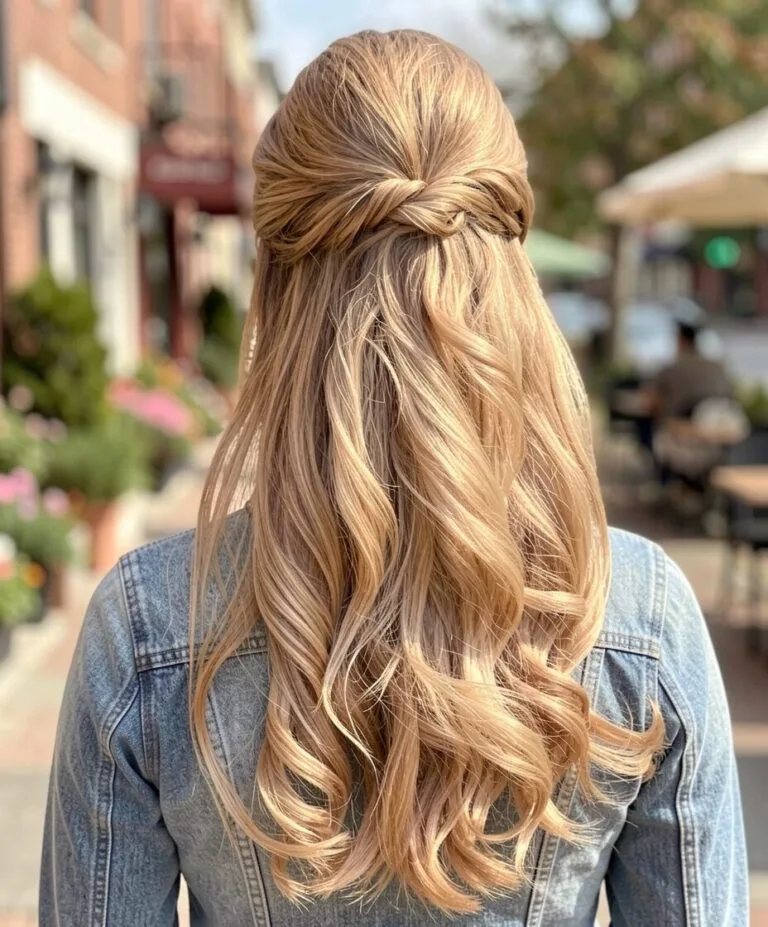
3Wasserfall-Zopf für Bräute
Perfekt für jede Braut mit langen Haaren und Boho-Chic-Style: Dieser Look kombiniert einen Wasserfall-Zopf mit einem klassischen dreisträhnigen Zopf für einen Halo-Effekt. Mit einem Blumenkranz oder Efeu als Accessoire wird der märchenhafte Look komplett.
4Dicker Wasserfall-Zopf
Wenn du mit deinem Wasserfall-Zopf ein Statement setzen willst, verwende dickere Strähnen für einen besonders auffälligen Wasserfall und style das Haar anschließend in große Locken.
5Schräger Wasserfall-Zopf
Dieser Wasserfall-Zopf verläuft schräg und zieht sich bis zum Nacken, anstatt in der Mitte des Hinterkopfs zu enden. Am Ende kannst du den Zopf mit einem transparenten Haargummi fixieren oder mit Haarnadeln feststecken.
6Wasserfall-Haarband
Für dieses Haarband flechtest du auf jeder Seite an den Schläfen einen Wasserfall-Zopf und bindest sie am Hinterkopf zusammen.
7Wasserfall mit weiterlaufendem Zopf
Anstatt deinen Wasserfall-Zopf am Hinterkopf zu beenden und festzustecken, flechtest du einfach weiter mit der klassischen Dreisträhnentechnik. Perfekt, wenn du einen Wasserfall willst, der auch an aktiven Tagen hält – oder für feines Haar, das sich mit Haarnadeln schwer fixieren lässt.
 9
9Wasserfall-Zopf mit Blumen-Dutt
Flechte einen Wasserfall-Zopf, der entweder am Hinterkopf oder seitlich endet, und fixiere ihn mit einem Haargummi. Flechte das herausfallende Haar zu einem einfachen Zopf, rolle diesen locker zu einer Spirale auf und stecke ihn fest, bis die gewünschte Blumenform entsteht.
 10
10Regenbogen-Wasserfall
Die Wasserfall-Technik eignet sich perfekt, um Haar mit mehreren Farbnuancen oder Stufen wie bei diesem pastelligen Regenbogen-Look zu zeigen.
 11
11Wasserfall-Zopf-Dutt
Für diesen Style startest du den Zopf am Oberkopf und flechtest ihn schräg zu einem Ohr hin. Verwende die normale Wasserfall-Technik, aber lasse die Strähnen immer auf der Seite fallen, wo später dein Dutt sitzt, und sichere sie zwischendurch mit einer Klammer. Wenn der Zopf fertig ist, löse die Klammern und fasse alle losen Strähnen mit dem restlichen Haar zu deinem Lieblingsdutt oder -zopf zusammen.
 12
12Wasserfall-Zopf für den Long Bob
Wasserfall-Zöpfe funktionieren auch bei kürzeren Haaren! Dieses geflochtene Haarband sieht auf einem Bob genauso toll aus wie auf superlangem Haar.
 13
13Rundum-Wasserfall
Damit dein Wasserfall-Zopf einmal um den ganzen Kopf geht, flechte einfach weiter um den Hinterkopf bis zur gegenüberliegenden Schläfe. Am Ende kannst du den Zopf mit einem Haargummi fixieren oder mit einer einfachen Dreisträhnentechnik bis zu den Spitzen weiterflechten.
 14
14Doppelter Wasserfall-Zopf
Dieser doppelte Wasserfall sieht beeindruckend aus, ist aber kaum komplizierter als ein einzelner. Wenn du den ersten Wasserfall fertig hast, beginnst du direkt darunter einen zweiten Zopf. Wenn du an die Stelle kommst, an der du normalerweise Haare aufnimmst, verwende die Strähnen, die beim ersten Zopf herausgefallen sind. Lasse beim zweiten Zopf wie gewohnt Strähnen unten herausfallen – so entstehen zwei verbundene Wasserfall-Zöpfe.
 15
15Wasserfall-Haarband
Wenn du deinem Wasserfall-Haarband noch mehr Flechtkunst verleihen willst, flechte die Enden beider Wasserfall-Zöpfe zusammen bis zu den Spitzen.
 16
16Doppelter Wasserfall-Hochstecklook
Wende die doppelte Wasserfall-Technik wie bei Style 13 an, binde die Haare dann zu einem Zopf am Hinterkopf. Flechte diesen Zopf bis zu den Spitzen und wickle ihn zu einem Dutt, den du feststeckst.
 17
17Geflochtene Wasserfälle
Wenn du einen zweisträhnigen Wasserfall fertig hast, flechte jede herausgefallene Strähne mit einer einfachen Dreisträhnentechnik weiter – für diesen coolen, hippie-inspirierten Look.
 18
18Leiterzopf
Für diesen abgewandelten Style flechtest du zuerst einen klassischen Wasserfall-Zopf. Den zweiten Zopf setzt du darunter an und nimmst dabei immer die herausgefallenen Strähnen des ersten Zopfs auf. Bei diesem Zopf lässt du unten keine weiteren Strähnen herausfallen. So entstehen zwei verbundene Zöpfe ohne Wasserfall-Strähnen beim zweiten Zopf.
 19
19Fischgräten-Wasserfall
Flechte ein Wasserfall-Haarband und verbinde die Enden am Hinterkopf. Mit diesen beiden Enden flechtest du einen einfachen Fischgrätenzopf – und schon hast du diesen süßen Kombi-Style!
 20
20Teilweiser Wasserfall
Wenn es dir schwerfällt, einen Wasserfall-Zopf einmal komplett um den Kopf zu flechten, ist dieser Style perfekt für dich! Hier lässt du nur ein paar Strähnen herausfallen und flechtest dann mit einer einfachen Technik weiter.
 21
21Wasserfall-Meerjungfrau
Dieser Style beginnt mit einem einfachen Wasserfall-Haarband. Wenn du die Enden am Hinterkopf gesammelt hast, flechtest du einen Dreisträhnenzopf und nimmst die herausgefallenen Wasserfall-Strähnen von innen nach außen mit dazu.
 22
22Schleierkraut-Zopf
Perfekt für einen schlichten Brautlook: Dieses rundum geflochtene Wasserfall-Haarband wird mit zartem Schleierkraut verwoben.
 23
23Abgewandelte Leiter
Flechte einen zweisträhnigen Wasserfall am Oberkopf und flechte den Rest der Haare zu einem tiefen französischen Zopf, wobei du alle losen Strähnen aufnimmst.
 24
24Eleganter Wasserfall
Für eine zusätzliche Flechtlage flechtest du einen dünnen Dreisträhnenzopf nahe der Stirn und verwendest diesen Zopf als eine Strähne für deinen Wasserfall-Zopf.
 25
25Violetter Wasserfall
Dieser Look bringt Romantik in jede knallige oder ausgefallene Haarfarbe – wir lieben den Wasserfall-Zopf besonders auf diesem violetten Ton.
 26
26Viersträhniger Wasserfall-Zopf
Wenn du bereit für die nächste Flechtstufe bist, bringt der viersträhnige Wasserfall-Zopf noch mehr Raffinesse in den Look, bleibt aber im Stil ähnlich. Teile dazu eine Haarpartie auf der linken Seite in vier Strähnen. Nimm die äußerste rechte Strähne, lege sie unter die nächste, dann über die folgende und schließlich unter die äußerste linke Strähne. Dann kreuzt du die beiden mittleren Strähnen, indem du die linke über die rechte legst. Nimm die äußerste rechte Strähne, lege sie unter die nächste und nimm dabei etwas loses Haar dazu, dann über die nächste und unter die äußerste linke Strähne. Wenn du die äußerste linke Strähne über die nächste legst, nimmst du ebenfalls eine neue Haarpartie dazu. Die Strähne, die jetzt ganz links ist, wird die erste Wasserfall-Strähne. Kreuze die mittlere Strähne über die linke – und schon kannst du den Ablauf wiederholen, indem du jedes Mal eine neue Strähne aufnimmst, um die zuvor herausgefallene zu ersetzen.