How to Bleach Hair at Home Without Wrecking It
Bleaching your own hair is the single riskiest thing you can do to it at home. The chemical reaction is aggressive, the margin for error is thin, and the consequences range from brassy orange hair to clumps falling out in the shower.
Millions of people do it successfully every year. The difference between a good result and a disaster comes down to understanding the chemistry, choosing the right developer strength, and knowing when to stop. This guide is built around one principle: safety first, vanity second.
Never use developer above 20 volume for at-home bleaching. Higher volumes (30 and 40) process faster but generate much more heat and damage. Two rounds with 20 volume is safer than one round with 40 volume.
Should You Even Do This at Home?
Honest answer: it depends on where you are starting and where you want to end up.
Manageable at home. Going one to two shades lighter on virgin hair (hair that has never been chemically treated) is the safest at-home scenario. Your hair has its full structural integrity, the cuticle is intact, and a single round of low-volume developer can get you there with minimal risk.
Risky but possible. Going two to three shades lighter, or lightening hair that has some previous heat damage. You need to be more careful, do a proper strand test, and accept that you might not hit your target shade in one session.
Go to a salon. Going from dark brown or black to platinum. That is a multi-session process that requires precise timing, overlapping applications, and toner work. Professionals have years of training for a reason, and this is it. Previously colored hair is equally unpredictable. Box dye deposits metallic salts that react badly with bleach. If you have used any permanent color in the last six months, a salon consultation is not optional.
Here is what is actually at stake. Worst case: chemical burns on your scalp. Hair breakage so severe that strands snap off at the root. Permanent damage to the hair shaft that no product can repair, often resulting in high porosity hair, requiring a big chop to start fresh. These outcomes are not rare horror stories. They happen constantly to people who skip steps or push past what their hair can handle.
If you are still reading, good. A healthy respect for the process is the first sign you will do it right.
How Bleach Works
Your natural hair color comes from melanin, a pigment inside the cortex (the middle layer of the hair shaft). The cortex is protected by the cuticle, a layer of overlapping scales on the outside. Think of roof shingles.
Bleach does not actually add color to hair. It strips the natural melanin pigment from inside the cortex. The “yellow” stage you see during processing is the underlying warm pigment that melanin was masking.
Bleach is a two-part system. The powder (potassium or ammonium persulfate) dissolves melanin. The developer (hydrogen peroxide) lifts the cuticle scales so the bleaching agent can reach the cortex and activates the oxidation reaction.
The longer bleach sits on your hair, the more melanin gets destroyed. Hair lifts through predictable stages:
Black, then dark brown, then brown, then red, then orange, then gold, then yellow, then pale yellow, then platinum.
You cannot skip stages. If your hair is naturally dark brown, it will pass through red and orange on its way to blonde. Every shade of melanin has to be broken down in order.
This is why so many at-home bleach jobs end up orange. People with dark hair expect to go straight to blonde, panic when they see orange, and rinse it out. The orange was not a failure. It was a stage. Pushing past it safely requires time, the right developer strength, and hair healthy enough to withstand extended processing.
Developer Volumes Explained
The developer is where most at-home mistakes happen. Stronger does not mean better. It means faster lifting with more damage.
10 volume (3% peroxide). Lifts one to two levels. Primarily used for toning, not aggressive lightening.
20 volume (6% peroxide). The standard for at-home lightening. Lifts two to three levels. This is the maximum strength you should use on your own hair.
30 volume (9% peroxide). Lifts three to four levels. Significantly more damage. Salon professionals use this with careful monitoring. At home, it is a gamble.
40 volume (12% peroxide). Four or more levels of lift. Can cause chemical burns within minutes. Professionals only. No exceptions.
The rule is simple: never go above 20 volume at home. If 20 does not get you light enough in one session, wait two to three weeks and do a second round. Reaching for a stronger developer to save time is how people end up with rubber-band hair that stretches and snaps.
See how different hairstyles look on you — upload your photo and try any style with our AI tool.
Try HairStyleMojo Free →What You Need
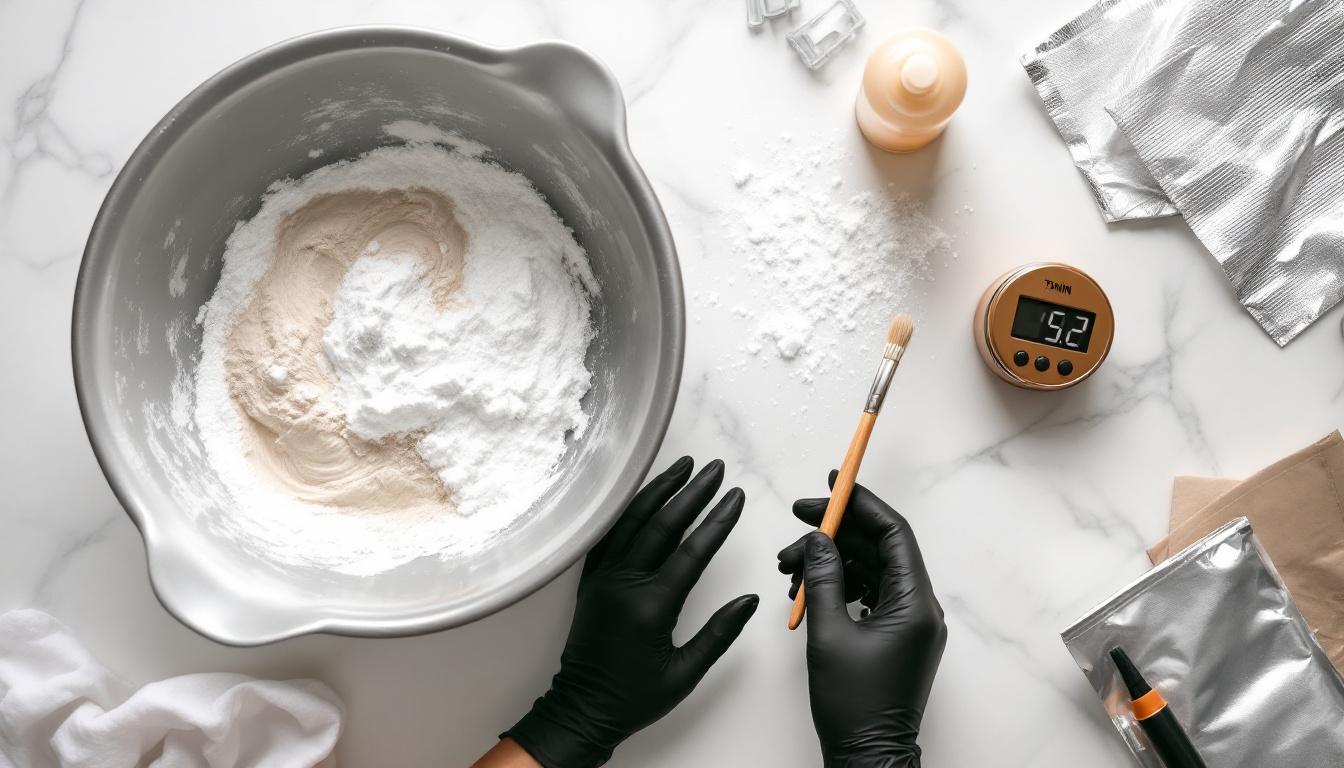
Gather everything before you start. Once the bleach is mixed, you are on a timer.
Keep a timer visible and check your hair every 5 minutes during processing. Bleach damage increases exponentially after the first 30 minutes, and most of the lifting happens in the first 20.
- Bleach powder. Salon-quality from a beauty supply store, not a box kit. Powder gives you control over the mixing ratio.
- Developer. 20 volume. Buy more than you think you need.
- Plastic mixing bowl and tint brush. Never use metal. It reacts with bleach.
- Plastic sectioning clips. Four minimum.
- Nitrile or latex gloves. Bleach burns unprotected skin.
- An old towel and old shirt. Bleach permanently stains fabric.
- A timer. Set it the moment you start applying.
- Petroleum jelly. Barrier for your hairline, ears, and neck.
- Deep conditioner or hair mask. Have it in the shower, ready to go.
- Strand test supplies. Small bowl, small amount of bleach mixture, foil or plastic wrap.
The Strand Test
This is not optional. The strand test is the single most important step in the entire process.
Take a small section from underneath, near the nape of your neck. Mix a tiny amount of bleach and developer in the correct ratio (usually 1:2, check your product). Apply it. Wrap loosely in foil. Start your timer. Check every five minutes and note the color change at each interval.
The strand test tells you three things:
How light you will get. Maybe it goes orange at 15 minutes and gold at 25. Now you know what to expect.
How long it takes. Coarse, dark hair lifts slower than fine, light hair. The strand test gives you your personal timeline.
Whether your hair can handle it. After rinsing the strand, feel it. Roll it between your fingers. Gently tug. If it feels like normal hair, proceed. If it feels gummy, mushy, or stretches like taffy, your hair is too damaged to bleach safely. Do not proceed.
Bleaching hair that is already damaged, dry, or over-processed can cause it to literally dissolve into a gummy, stretchy mass that breaks off when touched. If your hair is compromised, repair it first before even considering bleach.
Step-by-Step Process
Read all the steps before you begin. Surprises mid-process lead to mistakes.
Step 1: Section your hair. Four quadrants: front left, front right, back left, back right. Clip each section up. Thick hair? Use six or eight sections.
Step 2: Apply petroleum jelly. Coat your hairline, ears, and neck to prevent skin irritation.
Step 3: Mix bleach and developer. Standard ratio is one part bleach to two parts developer. Mix until smooth with no lumps. Only mix what you can use within 30 minutes.
Step 4: Apply to mid-lengths and ends first. Start about one inch from the roots and work through to the ends, section by section. Why skip the roots? Body heat from your scalp accelerates the reaction. Roots applied first will over-process and end up lighter than the rest.
Apply bleach to the mid-lengths and ends first, then the roots last. Your body heat makes the roots process faster, so doing roots last ensures even lifting across the entire strand.
Step 5: Start your timer. The clock starts when you begin applying, not when you finish.
Step 6: Apply to roots. After 10 to 15 minutes of processing on the lengths, go back and apply to the root area. Body heat helps the roots catch up quickly.
Step 7: Check every 5 to 10 minutes. Wipe bleach off a test section to see the color underneath. The actual hair color is what matters, not the color of the bleach itself.
Step 8: Rinse. When you hit your desired lift or the 30 to 40 minute maximum (whichever comes first), rinse thoroughly with cool water. No hot water. No shampoo. Just rinse until clear.
Step 9: Deep condition immediately. Generous amount, at least 10 minutes. Your cuticle has been forced open and needs moisture replenished now, not later.
Professional bleach powder contains buffering agents that control the pH and reduce scalp irritation. Cheap drugstore bleach kits often skip these buffers, which is why they cause more burning and uneven results.
The absolute maximum processing time is 40 minutes. Past that point, the bleach is just destroying hair structure with diminishing returns. Not light enough at 40 minutes? Rinse anyway. Do another round in two to three weeks.
Common Disasters and Fixes
Things go wrong. Here is what you might see and what to do about it.
Banding. Horizontal stripes of different shades. Caused by uneven application or inconsistent timing. Toner can minimize mild banding. Severe cases need a salon corrective appointment.
Orange or brassy results. You did not lift far enough. Two options: apply a blue or purple toner to neutralize the warmth (blue cancels orange, purple cancels yellow), or wait two to three weeks and bleach again. Do not bleach again the same day.
Breakage. Strands snapping off, especially when wet. The protein bonds are severely compromised. No product rebuilds broken bonds. Stop all chemical processing, deep condition, and you may need a haircut.
Spotty results. Missed sections or areas where bleach was too thin. A second pass on missed spots can help, but do not overlap onto already-processed areas. Overlapping causes breakage.
Scalp burns. Redness, stinging, raw skin. Rinse immediately with cool water. Do not scratch. Apply aloe vera. If blistering occurs, see a doctor.
When to Stop and Go to a Professional
There are clear signals that you have hit the limit of safe at-home work.
Your hair feels gummy when wet. Healthy hair feels smooth and slightly elastic. Gummy hair, like wet cotton candy that stretches without bouncing back, means the protein structure is compromised. Do not bleach again. See a stylist.
You bleached once and you are not light enough. This is the hardest moment. You want to keep going. Do not. Wait a minimum of two weeks, ideally three, and deep condition aggressively in between.
Multiple previous chemical treatments. Permanent color, relaxers, perms, previous bleach. The effects are cumulative and unpredictable. A stylist can assess how much more processing your hair can safely take.
Going more than three levels lighter. Each additional level compounds the damage. Dark brown to platinum is six or more levels. That requires multiple sessions over weeks or months with precise technique. Professional territory.
When in doubt, book a consultation. The cost of a professional bleach job is always less than the cost of fixing a botched at-home one.
Post-Bleach Care
The first two weeks after bleaching are critical for recovery.
Protein treatment within 48 hours. Bleach breaks the disulfide bonds that give hair its strength. One keratin or protein treatment in the first 48 hours helps fill those gaps. Do not overdo it. Too much protein makes hair stiff and brittle.
Bond repair products. Olaplex No. 3, Redken Acidic Bonding Concentrate, or K18. These target broken disulfide bonds and help re-link them.
Deep condition weekly. For at least a month. Your hair cannot hold moisture the way it did before the cuticle was opened.
Lower heat tool temperatures. Drop at least 20 to 30 degrees from your usual setting. Bleached hair has a lower thermal damage threshold.
No chemical treatments for two to three weeks. No permanent color, no perms, no relaxers, no additional bleaching. Stacking treatments back to back is the fastest route to severe damage.
Purple or blue shampoo. Purple neutralizes yellow. Blue neutralizes orange. Once or twice a week, not every wash. Overuse deposits a visible tint.
Avoid chlorine and excessive sun. Both further damage the compromised cuticle. Swim cap in pools, UV spray outdoors.
Key Takeaways
- At-home bleaching is safest for going one to two shades lighter on virgin, untreated hair
- Never use developer above 20 volume at home, regardless of how light you want to go
- The strand test is mandatory, not optional. It reveals whether your hair can survive the process
- Apply bleach to mid-lengths and ends first, roots last, to prevent hot roots from body heat
- Maximum processing time is 40 minutes. If it is not light enough, wait two to three weeks and repeat
- Gummy-feeling hair when wet means the protein structure is compromised. Stop all chemical processing
- Post-bleach care (protein, bond repair, deep conditioning) is not a bonus step. It is essential
Frequently Asked Questions
Box dye deposits metallic salts into the hair shaft that react unpredictably with bleach. The reaction can cause extreme heat, smoking, and severe breakage. If you have used box dye in the last six to twelve months, a salon professional should assess your hair before bleaching. They can run a metallic salt test to check for reactivity.
A minimum of two weeks, ideally three to four. During the wait, use deep conditioning and protein treatments to rebuild strength. If your hair still feels dry or brittle after three weeks, wait longer. There is no maximum wait time, only minimums.
Bleach does not affect the hair follicle. It cannot cause hair to stop growing or fall out at the root. What it can do is weaken the shaft so severely that strands break off along the length. This looks and feels like hair loss, but the follicle is undamaged and will keep growing. The broken strands need to be trimmed and grown out.
Scalp bleach is formulated for head hair. Facial skin is thinner, more sensitive, and absorbs chemicals faster. Using scalp bleach on eyebrows or facial hair risks chemical burns and eye contact. Products formulated specifically for facial hair use much lower concentrations. Never substitute.
High-lift color uses a high-volume developer (usually 40 volume) with an ammonia-based formula to lighten and deposit tone in one step. It lifts about three to four levels on virgin hair. Bleach is a pure lightening agent with no pigment. It removes color without adding any, which is why toner is needed afterward. Bleach achieves more lift, but high-lift color is a simpler one-step process for moderate lightening.
—
Sources & References
- Robbins, C.R. Chemical and Physical Behavior of Human Hair. 5th ed. Springer, 2012. Chapters on cuticle structure, oxidative damage mechanisms, and melanin degradation pathways.
- Bolduc, C., and Shapiro, J. “Hair Care Products: Waving, Straightening, Conditioning, and Coloring.” Clinics in Dermatology, vol. 19, no. 4, 2001, pp. 431–436.
- Harrison, S., and Sinclair, R. “Hair Colouring, Permanent Styling and Hair Structure.” Journal of Cosmetic Dermatology, vol. 2, no. 3–4, 2003, pp. 180–185.
- Draelos, Z.K. “Hair Cosmetics.” Dermatologic Clinics, vol. 9, no. 1, 1991, pp. 19–27. Overview of developer chemistry, oxidative processes, and damage assessment.
- Gavazzoni Dias, M.F.R. “Hair Cosmetics: An Overview.” International Journal of Trichology, vol. 7, no. 1, 2015, pp. 2–15. Comprehensive review of bleaching agents, developer volumes, and post-treatment care protocols.
Try different hairstyles on yourself
Upload your photo and see how any hairstyle looks on you before committing.
Try HairStyleMojo Free